
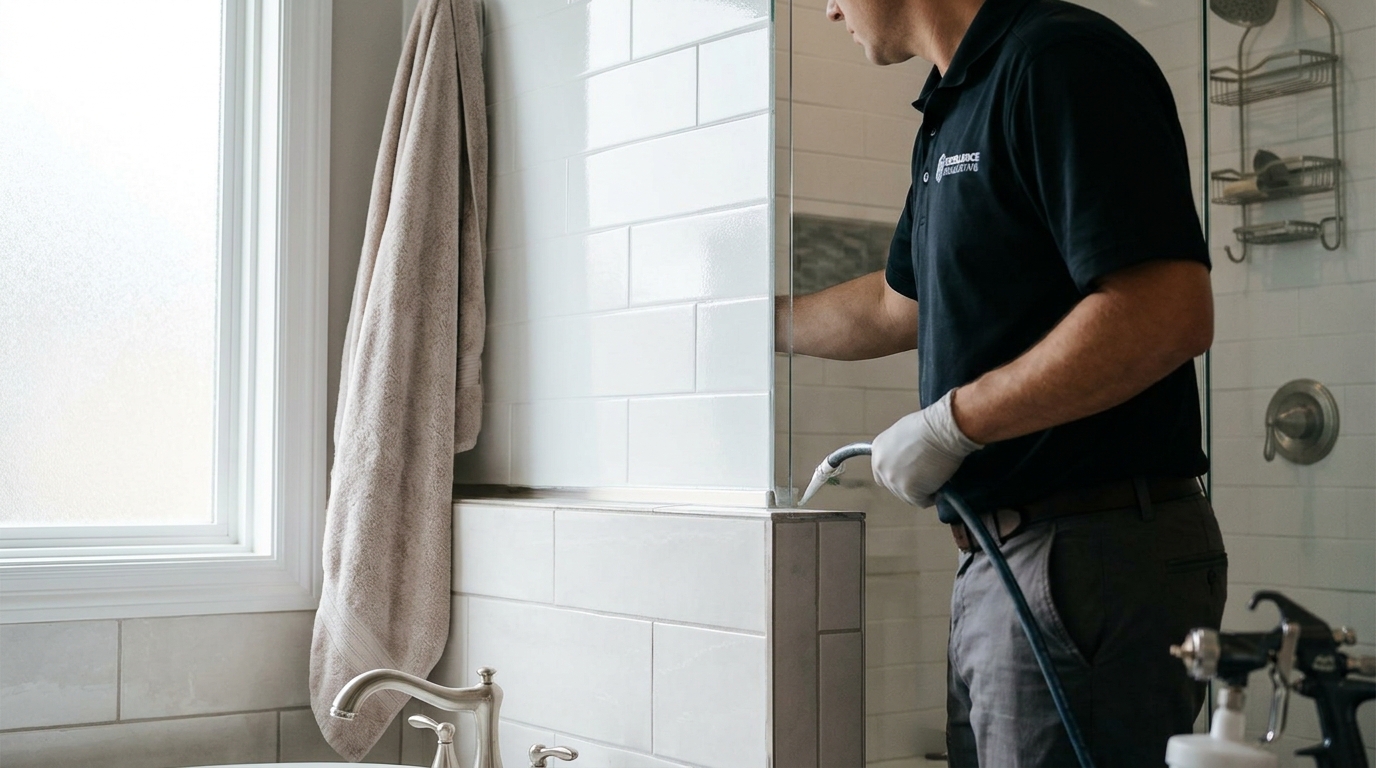
What exactly happens during a professional shower reglazing to restore its appearance?
Professional shower reglazing is a multi-stage refinishing process that restores worn, stained, or outdated ceramic tile surfaces without demolition. The procedure involves thorough surface preparation, chemical etching, primer application, and a durable topcoat. This method allows homeowners to update their bathroom's aesthetic while preserving the existing structure, offering a cost-effective alternative to full replacement.
The Initial Inspection and Surface Preparation
The reglazing process begins with a detailed inspection of the shower area. Technicians assess the condition of the existing tile, grout, and fixtures to identify any underlying issues. This step is critical because the success of the refinishing job depends on the stability of the base material. If the tile is loose or the substrate is compromised, repairs must be made before any coating is applied.
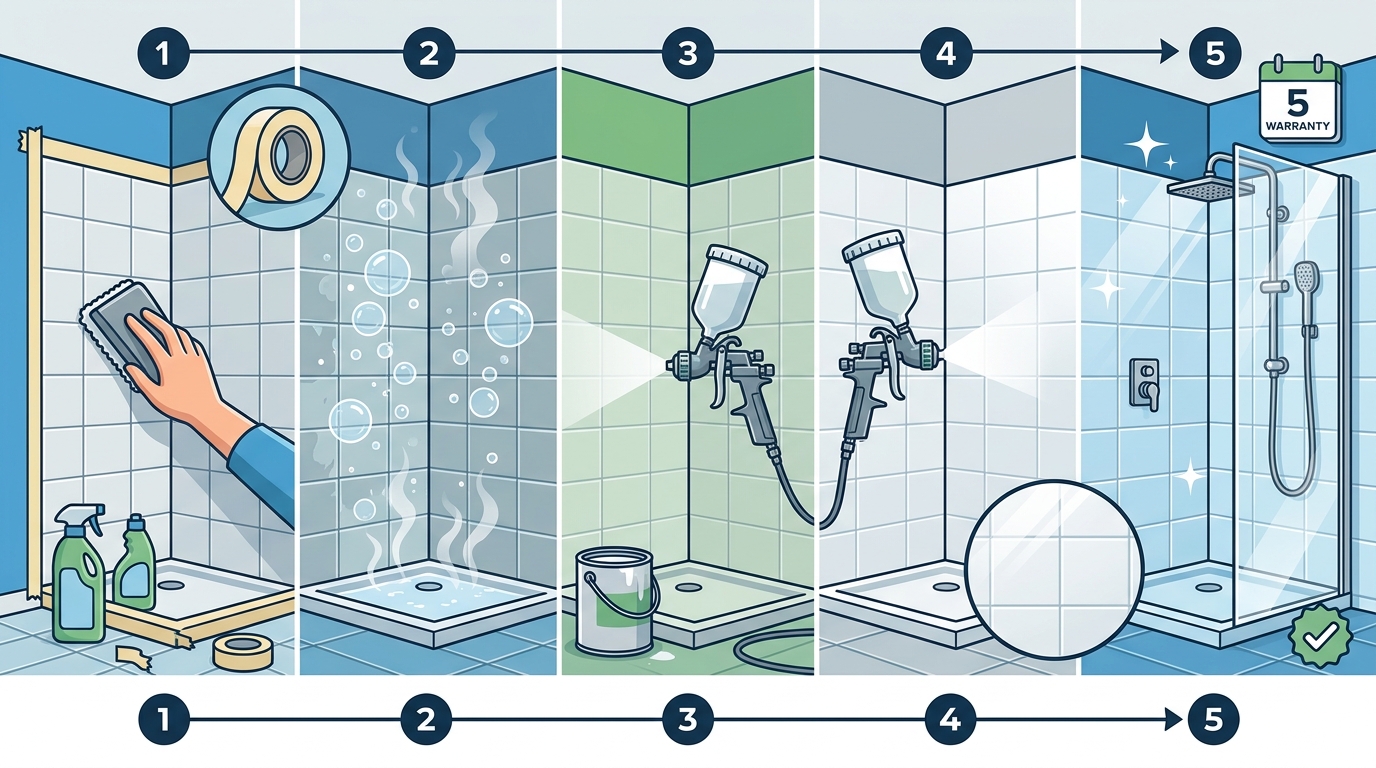
Once the surface is deemed suitable, the preparation phase starts. This involves removing old caulk and thoroughly cleaning the area to eliminate soap scum, mildew, and mineral deposits. The surface is then abraded or etched using a chemical treatment. This etching process creates a microscopic profile on the tile, which is essential for ensuring that the new coating adheres properly. Without this step, the finish would likely peel or chip within a short period.
Masking and Protection of Surrounding Areas
After the surface is prepared, the surrounding bathroom elements are carefully masked and protected. This includes covering the floor, walls, and any fixtures that are not being refinished. The goal is to create a controlled environment where the coating can be applied without contaminating other surfaces. Proper masking ensures that the final result is clean and professional, with sharp lines and no overspray on adjacent materials.
During this phase, technicians also address any minor imperfections in the tile. Chips, cracks, or uneven grout lines are filled and smoothed out. This creates a uniform base for the primer and topcoat. By leveling the surface, the final finish appears seamless and smooth to the touch. This attention to detail is what distinguishes professional reglazing from DIY attempts, which often result in an uneven or bubbled appearance.
Primer Application and Bonding
With the surface prepared and protected, the primer is applied. Primer is a bonding agent that creates a strong connection between the existing tile and the new topcoat. It is typically applied using a brush or roller to ensure even coverage. The primer must be allowed to dry completely before the next step can begin. This drying time is crucial, as applying the topcoat too early can lead to adhesion failures.
The choice of primer is specific to the type of tile being refinished. For ceramic tile, a specialized bonding primer is used to ensure maximum durability. This layer acts as the foundation for the entire reglazing project. If the primer does not bond correctly, the topcoat will not adhere, regardless of how well it is applied. Therefore, this step requires precision and adherence to the manufacturer's recommended drying times.
Topcoat Application and Curing
The final stage of the reglazing process involves applying the topcoat. This is the layer that provides the new color and finish to the shower. The topcoat is typically a high-durability polyurethane or epoxy-based material. It is applied in multiple thin coats to build up the desired thickness and opacity. Each coat is allowed to dry before the next is applied, ensuring a smooth and even finish.
After the final coat is applied, the shower must be allowed to cure. Curing is a chemical process that hardens the coating, making it resistant to water, soap, and daily wear. The curing time can vary depending on the product used and environmental conditions such as temperature and humidity. Homeowners are usually advised to wait at least 24 to 48 hours before using the shower. This waiting period ensures that the finish has fully hardened and is ready for regular use.
Long-Term Durability and Maintenance
Once the reglazing is complete, the shower looks like new. The new finish is resistant to stains, mildew, and discoloration. However, the longevity of the reglazed surface depends on proper maintenance. Homeowners should use mild, non-abrasive cleaners to avoid damaging the coating. Harsh chemicals or scouring pads can scratch or degrade the finish over time.
Regular maintenance helps preserve the appearance and durability of the reglazed shower. By following simple care instructions, homeowners can extend the life of the finish for many years. This makes reglazing a practical and sustainable option for bathroom updates. It allows for a fresh look without the significant cost and disruption of a full remodel.
Key Takeaways
- Professional reglazing involves inspection, preparation, masking, priming, and topcoat application.
- Surface preparation, including etching, is critical for ensuring proper adhesion of the new finish.
- Masking protects surrounding areas and ensures a clean, professional result.
- The primer creates a strong bond between the existing tile and the new topcoat.
- The topcoat is applied in multiple coats and requires a curing period of 24 to 48 hours.
- Proper maintenance with mild cleaners is essential for long-term durability.
- Reglazing is a cost-effective alternative to full shower replacement.
Frequently Asked Questions
How long does the reglazing process take?
The entire process typically takes one day to complete. The application of the primer and topcoat is done in a single visit, but the curing time requires the shower to remain unused for 24 to 48 hours.
Can I use the shower immediately after reglazing?
No, you should wait at least 24 to 48 hours before using the shower. This allows the topcoat to fully cure and harden, ensuring it is durable and resistant to water.
What kind of cleaners should I use on a reglazed shower?
Use mild, non-abrasive cleaners and a soft cloth. Avoid harsh chemicals, bleach, or scouring pads, as these can damage the finish and cause it to peel or discolor.
How long does a reglazed shower last?
With proper care and maintenance, a reglazed shower can last for many years. The durability depends on the quality of the materials used and how well the surface is maintained.
Is reglazing a good option for cracked tile?
Minor cracks can often be repaired before reglazing. However, if the tile is severely damaged or loose, replacement may be necessary. A professional inspection will determine the best course of action.
Can I change the color of my shower with reglazing?
Yes, reglazing allows you to change the color of your shower. You can choose from a variety of colors and finishes to update the look of your bathroom.