
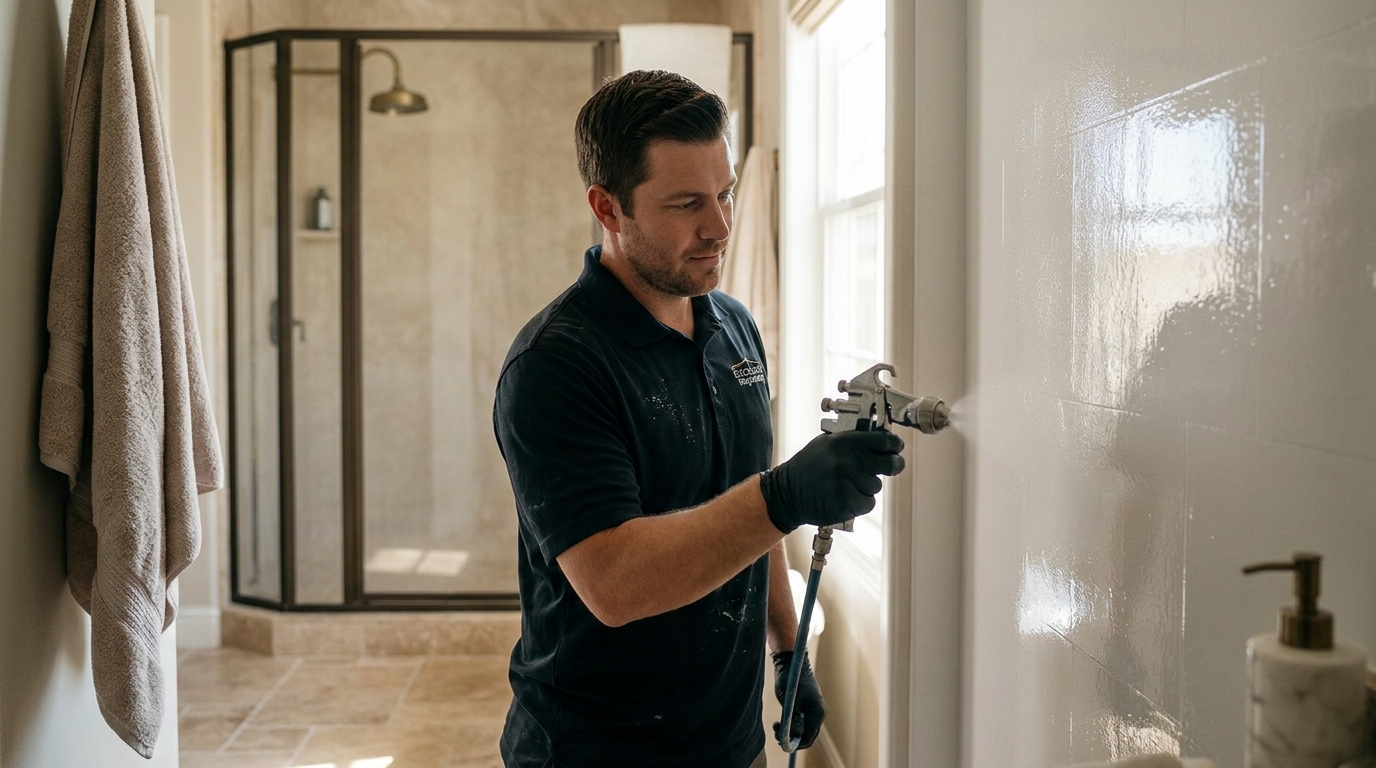
Homeowners in Southern California often face the dilemma of outdated bathroom fixtures without the budget for a full remodel. Excellence Reglazing has served the Corona, CA area since 2008, providing a cost-effective alternative to demolition. Professional reglazing transforms worn surfaces into pristine finishes without the mess of replacement. This guide details the rigorous preparation and application steps required to achieve durable, high-gloss results.
Phase 1: Surface Preparation and Repair
The longevity of a reglazed shower depends entirely on the quality of the initial surface preparation. This phase is the most labor-intensive part of the process. The goal is to create a perfectly clean, roughened surface that allows the new coating to bond chemically.
Deep Cleaning and Degreasing
First, technicians apply heavy-duty industrial cleaners to remove soap scum, body oils, and mineral deposits. These contaminants prevent adhesion. A thorough scrubbing ensures that no residue remains on the porcelain, fiberglass, or ceramic tile surfaces.
Repairing Chips and Cracks
Before any coating is applied, structural integrity must be addressed. Fiberglass repair involves filling chips and cracks with a specialized filler compound. This filler is sanded smooth to match the surrounding surface contour. For porcelain tubs, similar techniques are used to restore the surface plane. This step ensures the final finish looks uniform and does not highlight previous damage.
Phase 2: Masking and Environmental Control
Professional reglazing requires a controlled environment to ensure safety and finish quality. The bathroom must be sealed off from the rest of the home to prevent overspray from settling on carpets, walls, or fixtures.
Protective Masking
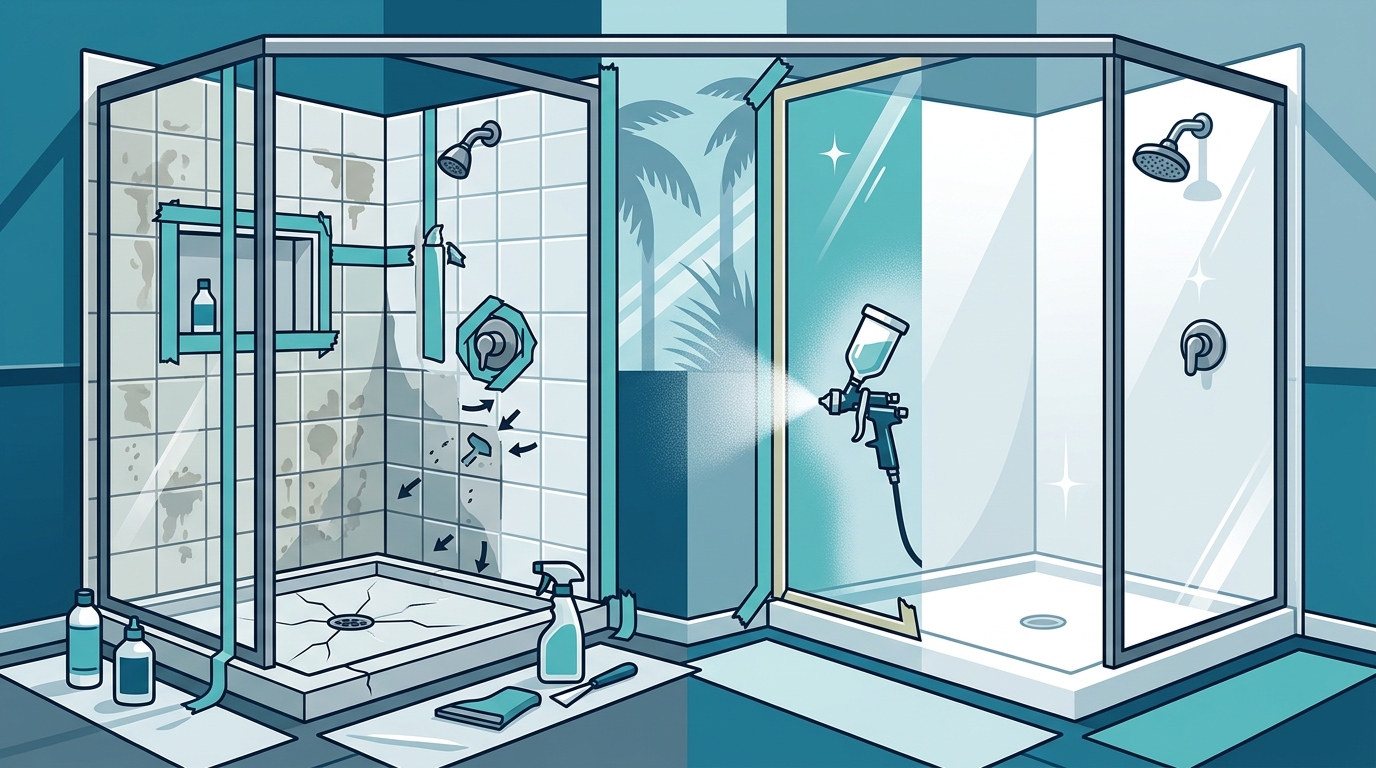
Technicians use high-grade plastic sheeting and masking tape to cover drains, faucets, showerheads, and adjacent walls. This precision masking protects hardware from chemical etching and paint overspray. It also ensures that the new coating only adheres to the intended surfaces.
Ventilation Setup
Proper ventilation is critical for both safety and curing. High-powered exhaust fans are installed to remove fumes and accelerate the drying process. This step is vital for maintaining air quality during the application of industrial-grade coatings.
Phase 3: Etching and Chemical Cleaning
Etching is the chemical process that roughens the glossy surface of the existing tub or shower. This creates "tooth" for the primer to grip.
The Etching Process
A specialized etching solution is applied to the entire surface. This solution dissolves the top layer of the glaze, leaving a microscopically rough texture. The surface is then thoroughly rinsed and dried. Any remaining moisture can cause the new coating to peel or bubble.
Final Wipe Down
Before primer application, the surface is wiped down with a tack cloth or solvent. This removes any dust particles or etching residue. This final cleaning step is non-negotiable for achieving a smooth, professional finish.
Phase 4: Primer Application
Primer acts as the bridge between the old surface and the new topcoat. It ensures strong adhesion and prevents peeling over time.
Primer Selection
High-bond epoxy or urethane primers are typically used. These materials are designed to penetrate the etched surface and create a mechanical bond. The primer is applied evenly using a spray gun or roller, depending on the surface geometry.
Drying Time
The primer must dry completely before the next step. This usually takes a few hours, depending on humidity and temperature. Rushing this step can compromise the final durability of the reglazed surface.
Phase 5: Topcoat Spraying
The topcoat is the visible layer that provides the color, gloss, and water resistance. This is where the transformation becomes apparent.
Spray Application Technique
Professional technicians use high-volume, low-pressure (HVLP) spray guns to apply the topcoat. This method ensures a smooth, even finish without brush marks or roller stipple. Multiple thin coats are applied rather than one thick coat to prevent runs and sags.
Color Matching
Homeowners can choose from a variety of colors to match their bathroom decor. Common choices include white, almond, and biscuit. The topcoat is mixed to the exact shade required, ensuring consistency throughout the application.
Phase 6: Curing and Final Inspection
Curing is the final phase where the coating hardens and reaches its full strength. This process takes time and requires careful handling.
Curing Time
While the surface may feel dry to the touch within hours, full curing can take up to 72 hours. During this time, the shower should not be used. Exposure to water or moisture before full curing can damage the finish.
Final Inspection
Once cured, the masking is removed, and the surface is inspected for any imperfections. Technicians check for runs, sags, or missed spots. Any minor issues are corrected immediately. The result is a like-new surface that looks and feels professional.
Comparison of Reglazing vs. Replacement
Understanding the differences between reglazing and full replacement helps homeowners make informed decisions. The table below outlines the key distinctions.
| Feature | Professional Reglazing | Full Replacement |
|---|---|---|
| Cost | Significantly lower | High |
| Time | 1-2 days | 1-2 weeks |
| Disruption | Minimal | Major demolition |
| Warranty | 5-Year Warranty | Varies by manufacturer |
| Environmental Impact | Low (keeps tub out of landfill) | High (waste generation) |
Key Takeaways
- Excellence Reglazing has served Southern California since 2008, establishing a long track record of reliability.
- Surface preparation is the most critical step, involving deep cleaning, etching, and repair of chips.
- Professional masking protects fixtures and prevents overspray contamination in adjacent areas.
- High-bond primers are essential for ensuring the new coating adheres to the etched surface.
- HVLP spray guns are used to apply the topcoat for a smooth, factory-like finish.
- A 5-year warranty is provided on all reglazing services, guaranteeing the quality of the work.
- Full curing takes up to 72 hours, during which the shower must remain dry and unused.
Frequently Asked Questions
How long does the shower reglazing process take?
The entire process, including preparation, application, and initial drying, typically takes one to two days. However, full curing requires 72 hours before the shower can be used.
Is the reglazing process safe for my home?
Yes, when performed by professionals. Technicians use proper ventilation and masking to protect your home from fumes and overspray. The materials used are designed to be safe once cured.
Can you reglaze fiberglass showers?
Yes, fiberglass showers can be reglazed. The process involves specific etching and bonding techniques to ensure the coating adheres to the flexible fiberglass surface.
What is the warranty on reglazed surfaces?
Excellence Reglazing provides a 5-year warranty on all reglazing services. This warranty covers peeling, chipping, and delamination under normal use.
How do I maintain my reglazed shower?
Use mild, non-abrasive cleaners. Avoid harsh scrubbing pads or acidic cleaners that can damage the new finish. Regular cleaning prevents buildup and extends the life of the coating.
Can I change the color of my shower during reglazing?
Yes, you can choose from a variety of colors to match your bathroom decor. Common options include white, almond, and biscuit.
Is reglazing better than replacing my tub?
Reglazing is often more cost-effective and less disruptive than replacement. It also keeps the old tub out of the landfill, making it a more environmentally friendly option.
Ready to Transform Your Bathroom?
Don't let a worn-out shower diminish the beauty of your home. Contact Excellence Reglazing today to schedule your free estimate. Serving Corona, CA, and surrounding areas, we provide professional reglazing services that restore your bathroom to like-new condition. Experience the difference of a licensed and insured team dedicated to quality.