
Bathtub Surface Prep for Reglazing: A Step-by-Step Guide
Surface preparation is the single most important factor in whether a bathtub reglaze lasts two years or twenty. Skipping steps or rushing through prep almost always leads to peeling, bubbling, or an uneven finish. Whether you are hiring a professional refinishing company like Excellence Reglazing in Corona, CA, or simply want to understand what the process looks like before booking a service, this guide walks you through every stage of proper bathtub surface preparation. Knowing what goes into the prep work helps you make informed decisions and sets the stage for a flawless, long-lasting finish.
Why Surface Preparation Matters
Surface preparation is the foundation of every successful reglazing project. Without it, even the highest-quality coatings will fail. Poor adhesion and uneven finishes are almost always caused by inadequate surface prep rather than bad coating materials.
A properly prepped bathtub allows the new finish to bond at the molecular level, creating a durable surface that can last 10 to 15 years with proper care. This is why professional services like Excellence Reglazing's refinishing process place so much emphasis on preparation before any coating is applied.
Step 1: Inspect the Tub Surface
Every professional reglazing project begins with a thorough inspection. The technician identifies the tub material, whether it is cast iron, porcelain, fiberglass, or acrylic, because each material requires different preparation techniques. They also check for cracks, chips, rust, and stubborn stains that need special attention.
Why Material Identification Is Critical
Tub material determines the sandpaper grit, primer type, and etching method used during prep. For example, porcelain tubs require different handling than fiberglass tub surfaces. Getting this wrong can compromise the entire project.
Checking for Previous Reglazing
If a tub has been previously reglazed, the old coating must often be fully removed to prevent the new finish from peeling or chipping. A professional will test the existing surface to determine the best removal approach.
Step 2: Deep Clean the Bathtub
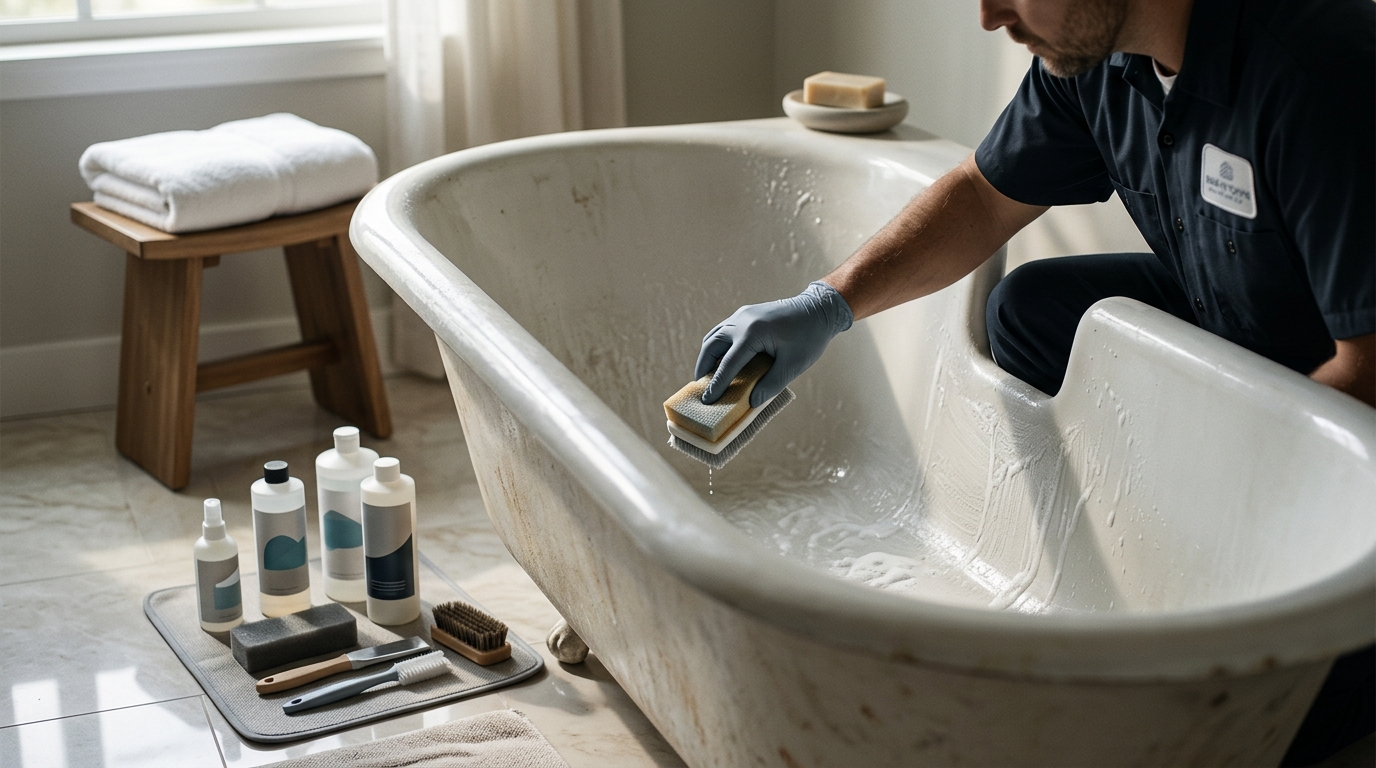
Deep cleaning is the process of removing all soap scum, body oils, mineral deposits, dirt, and silicone residue from the tub surface. This must be done thoroughly because any remaining contaminant will prevent the new coating from adhering properly.
Pay close attention to the area around the drain, where buildup is most common and most often overlooked. Use a non-abrasive cleaner and a scouring pad to scrub the entire surface. After scrubbing, rinse with hot water and dry the tub completely with a lint-free cloth.
Removing Old Caulk
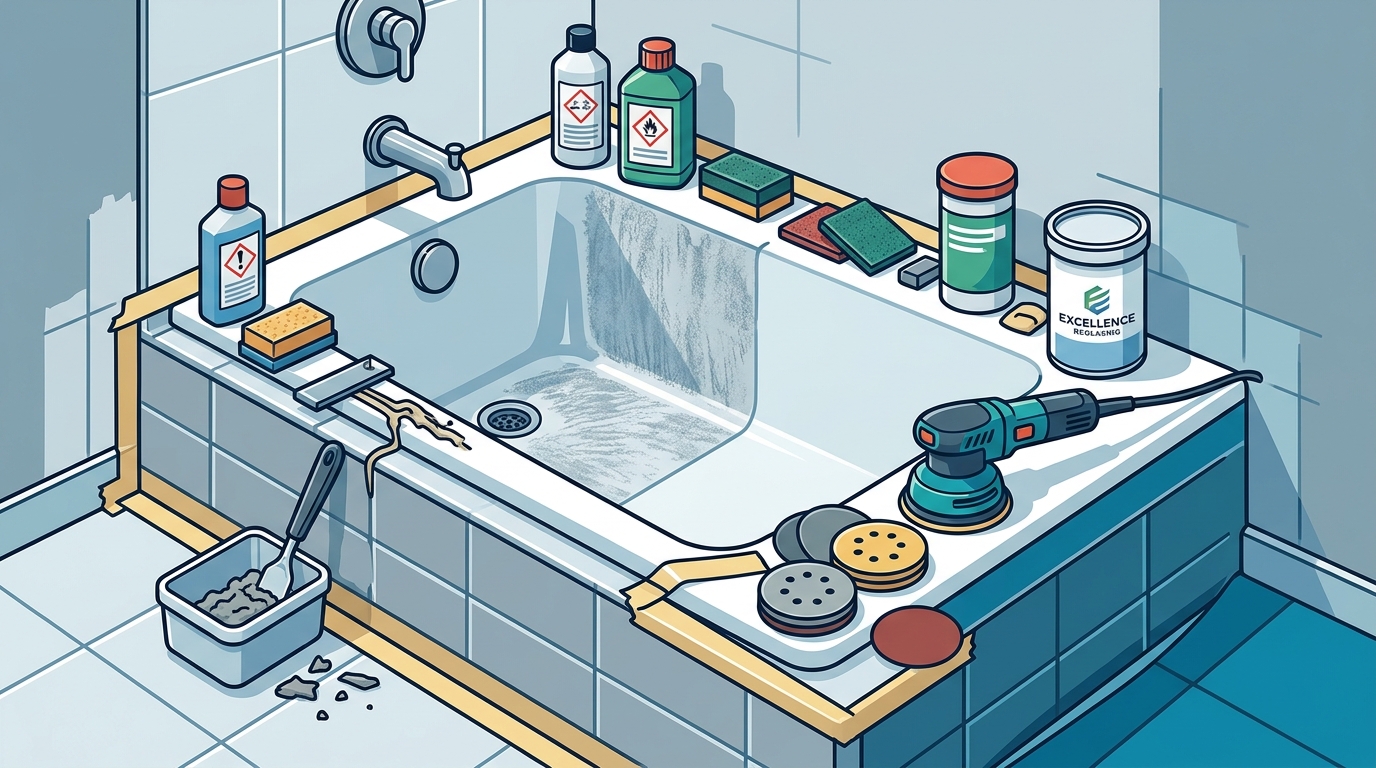
Old caulk traps moisture and bacteria, which can cause the new coating to lift or bubble. Use a caulk remover tool and a gentle scraper to strip away all old caulking material. Wipe the exposed area with rubbing alcohol for a clean, residue-free surface.
Step 3: Repair Chips, Cracks, and Damage
Filler application is an important step in bathtub reglazing, as it helps create a smooth, even surface by filling any cracks or chips. Chips are typically filled with a specialized epoxy putty, while cracks may require an inlay repair. Rust spots need to be cleaned out completely, and burn marks should be sanded down before filling.
Once the filler has fully cured, the repaired areas are sanded until they are level with the surrounding surface. This ensures the final coating looks seamless. Learn more about handling common surface issues in our guide to fixing common issues with acrylic surfaces.
Step 4: Sand and Etch the Surface
Sanding is the process of abrading the tub surface to create a rough texture that gives the new coating something to grip onto. The grit level depends on the tub material:
| Tub Material | Recommended Grit | Method |
|---|---|---|
| Steel (never reglazed) | 50-60 grit | Electric drill with sanding disc |
| Cast Iron (never reglazed) | 60-80 grit | Orbital sander |
| Previously Reglazed (steel/cast iron) | 40-60 grit | Electric drill with sanding disc |
| Plastic/Acrylic | 100-120 grit | Hand sanding |
| Porcelain/Enamel | 220-400 grit | Orbital sander, then acid etching |
Acid Etching
Acid etching is a technique that uses an acid-based solution to chemically prepare nonporous surfaces like porcelain, enamel, or fiberglass. This step makes it easier for coatings to adhere. If the etching process is skipped or done with subpar materials, the final coating may peel or fall off, as noted by refinishing supplier NAPCO.
Step 5: Mask and Protect Surrounding Areas
Before any primer or coating is applied, all surrounding surfaces must be protected. Cover the drain with masking tape, tarp walls and flooring with plastic drop cloths, and use painter's tape to define clean edges where the tub meets the wall. Wrap the spout with a plastic bag secured with tape to prevent water drips during the process.
Proper ventilation is also essential during this stage. A portable ducted ventilation system that leads outdoors is ideal for maintaining air quality and ensuring optimal coating results. For more on what the full process looks like, visit our post on how bathtub resurfacing services transform your bathroom.
Step 6: Apply Primer and Bonding Agent
Priming is the process of applying a specialized coating that enhances the bond between the old surface and the new finish. Professional-grade primer should be applied using an airbrush system rather than a paintbrush to achieve a seamless, factory-quality look. Multiple thin coats are applied until an ultra-smooth base is achieved.
After priming, a final degreasing pass with 91% isopropyl alcohol on a lint-free rag ensures the surface is completely free of contaminants before the topcoat is sprayed. At this point, the tub is fully prepped and ready for its new reglaze finish.
Key Takeaways
- Surface preparation is the most critical factor for a durable, long-lasting reglaze finish.
- Always identify the tub material first, as it determines sanding grit, etching method, and primer type.
- Deep cleaning must remove all oils, soap scum, and silicone before any coating is applied.
- Chips, cracks, and rust must be repaired and sanded level before proceeding.
- Acid etching is essential for nonporous surfaces like porcelain and fiberglass.
- Professional-grade primers applied with an airbrush system produce the best results.
- Hiring a professional refinishing service like Excellence Reglazing saves time and ensures each prep step is done correctly.
Frequently Asked Questions
How long does bathtub surface preparation take?
Professional surface preparation typically takes several hours. The entire reglazing project, including prep and coating, usually requires one to two days to complete properly.
Can I reglaze a bathtub that has been reglazed before?
Yes, but the old coating must be fully removed first. Previous coatings that are peeling or bubbling need to be stripped completely to ensure the new finish bonds correctly.
What happens if surface preparation is done poorly?
Inadequate prep leads to poor adhesion, which causes the new finish to peel, bubble, or chip within months. This often requires a complete rework of the project.
Is acid etching always necessary?
Acid etching is most important for nonporous materials like porcelain, enamel, and fiberglass. Some professionals use wet sanding as an alternative, but etching generally provides superior adhesion results.
What type of sandpaper should I use for bathtub prep?
The grit depends on your tub material. Steel tubs typically require 50-60 grit, cast iron needs 60-80 grit, and plastic or acrylic tubs are best sanded with 100-120 grit. Porcelain surfaces often use 220-400 grit before acid etching.
How long should I wait before using a reglazed tub?
Most professionals recommend waiting at least 48 hours for the coating to cure completely before using the tub. Follow the specific timeline provided by your refinishing technician.
Why should I hire a professional instead of doing it myself?
Professional refinishers have the training, equipment, and materials to execute each prep step correctly. Companies like Excellence Reglazing use professional-grade airbrush systems and industrial primers that produce results far superior to DIY kits, and you save over 70% compared to full tub replacement.
How much does professional bathtub reglazing cost?
Most professional reglazing projects range from $300 to $500 depending on the tub material, condition, and whether it has been previously refinished. This is a fraction of the cost of a full bathtub replacement.
Ready to Reglaze Your Bathtub the Right Way?
Excellence Reglazing serves Corona, CA and surrounding areas with professional tub refinishing that saves you over 70% compared to replacement. Every project starts with meticulous surface preparation to ensure a flawless, lasting finish. Contact Excellence Reglazing today for a free estimate.