
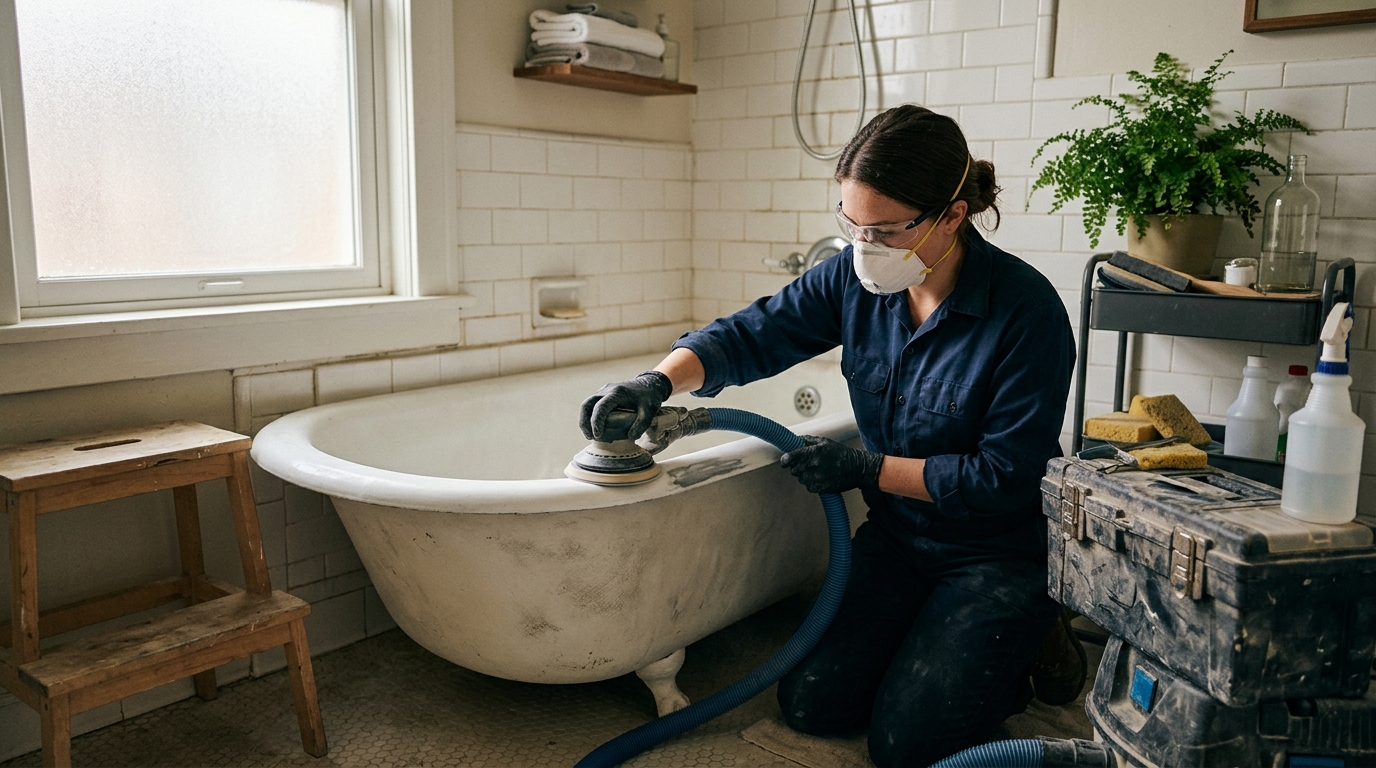
Surface preparation is the single most important factor in a successful reglaze. Skipping steps or rushing through prep is the number-one reason finishes peel, bubble, or fail within months. At Excellence Reglazing, we have refined a meticulous preparation process that ensures every reglazed surface looks factory-new and lasts for years. Here is exactly what goes into preparing a bathroom surface before the first drop of coating is ever applied.
Why Surface Preparation Matters More Than the Coating Itself
Industry professionals widely agree that preparation determines the outcome of any reglazing project. As one refinishing resource puts it, a successful refinishing job is roughly 80 percent preparation. Bathtubs, sinks, and tile surrounds made from porcelain, enamel, or fiberglass are nonporous, meaning a fresh coating cannot bond to them without deliberate mechanical or chemical roughening of the surface. If the etching or sanding step is skipped or performed with inferior materials, the new finish will not adhere correctly and may peel off entirely, requiring a costly do-over.
At Excellence Reglazing, every project begins with a thorough assessment of the fixture’s material composition—cast iron, steel, fiberglass, acrylic, or cultured marble—because each substrate demands a slightly different preparation approach.
Step 1: Clear the Work Area and Remove Hardware
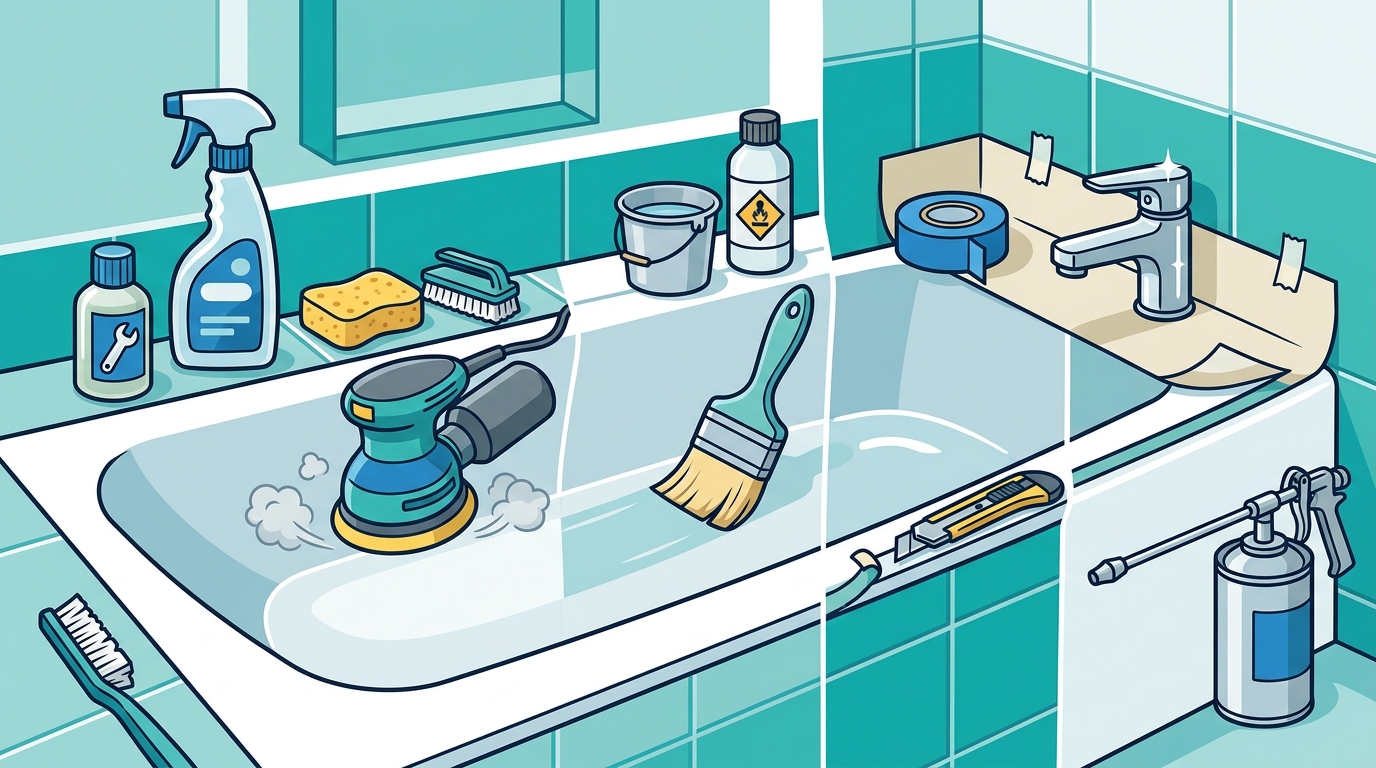
Before any chemical or abrasive touches the surface, the bathroom must be fully cleared. All personal items, bath mats, shower curtains, and toiletries should be removed from the room. The water supply to the fixture is shut off, and all hardware—faucet handles, drain covers, overflow plates, and spouts—is carefully detached. Removing hardware ensures that every square inch of the surface can be reached during cleaning, sanding, and coating. It also prevents accidental damage to chrome or brushed-nickel finishes from chemical exposure.
Step 2: Deep Chemical Cleaning
Years of use leave behind invisible layers of body oils, soap scum, mineral deposits, and silicone residue from caulk. A simple wipe-down is not sufficient. Professional reglazing technicians use specially formulated two-step cleaners designed to dissolve organic oils and mineral buildup separately. The surface is scrubbed thoroughly, rinsed, and then scrubbed again. Some professionals follow up with an isopropyl alcohol wipe as a final degreasing measure to eliminate any last traces of oil, dust, or residue.
This step is non-negotiable. If any soap film or oil remains on the surface, the primer and topcoat will not bond, and peeling can begin within weeks.
Step 3: Repair Chips, Cracks, and Surface Damage
With the surface clean and dry, a detailed inspection is performed under bright lighting. Every chip, pit, hairline crack, and area of rust is identified and addressed. Chips are filled with a specialized epoxy putty that is worked flush with the original contour of the fixture. Cracks may require a reinforced inlay for structural support. Rust spots must be completely removed—not just covered—to prevent continued corrosion beneath the new finish. Burns or deep scuffs are sanded down and then filled. Once all repairs have fully cured, they are sanded smooth so they blend seamlessly into the surrounding surface.
At Excellence Reglazing, we treat the repair phase like auto-body work: the goal is an absolutely smooth, defect-free substrate. If significant structural damage is found—such as deep cracks that flex when pressed—we advise the homeowner before proceeding, because a cosmetic coating cannot solve a structural problem.
Step 4: Sand or Etch the Entire Surface
This is where the magic of adhesion science happens. The existing glossy finish must be completely dulled so the new coating has something to grip. There are two primary methods:
- Mechanical sanding: Using 400-grit sandpaper progressing to 600-grit, the entire surface is lightly abraded. This creates a microscopic texture that gives primers and coatings strong mechanical adhesion. Orbital sanders work well for large, flat areas; hand-sanding is used in curves and around drain openings.
- Acid etching: For cast iron, steel, and ceramic surfaces, an acid-based etching solution is applied. This chemically roughens the nonporous surface at a molecular level. Many professional refinishing kits include dedicated etching compounds for this purpose.
Some professionals use both methods in sequence for maximum adhesion. After sanding or etching, the surface is rinsed thoroughly and wiped completely dry. Any remaining dust is removed with a tack cloth or a final alcohol wipe.
Step 5: Mask and Protect Surrounding Areas
With the surface prepped and spotless, the rest of the bathroom needs protection. Floors, walls, countertops, the toilet, and any adjacent fixtures are covered with heavy-duty plastic sheeting secured by painter’s tape. The drain is sealed with tape, and a latex glove or plastic barrier is placed over the faucet and showerhead to prevent drips from contaminating the freshly coated surface. Professional refinishers also install portable ducted ventilation systems to exhaust fumes outdoors and maintain clean airflow across the wet coating, which is critical both for safety and for an even cure.
Step 6: Apply a Bonding Primer
Primer is the bridge between the prepared substrate and the topcoat. A high-quality bonding primer is applied evenly across the entire surface. Professional technicians use HVLP (high-volume, low-pressure) spray systems rather than brushes or rollers, because spraying delivers a thinner, more uniform layer that avoids visible brush marks and mimics the original factory finish. The primer must be allowed to tack up and reach the correct dryness stage before topcoating begins.
For homeowners considering a DIY approach, be aware that brush or roller application often produces a visibly different texture compared to a professional spray application. This is one of the key reasons professionals consistently deliver superior results.
Step 7: Verify Conditions Before Coating
Before any topcoat is applied, experienced technicians check three environmental variables:
- Temperature: The bathroom should be at least 68°F (20°C). Cooler temperatures slow or compromise the chemical curing process.
- Humidity: Excess moisture in the air can cause bubbling, cloudiness, or adhesion failure. Dehumidifiers or fans may be used to bring conditions into the ideal range.
- Ventilation: Windows should be opened and exhaust fans running to manage fumes and speed drying.
At Excellence Reglazing, we bring our own climate-control equipment when needed, because we know that even perfect surface preparation can be undermined by poor environmental conditions during the coating phase.
What Happens After Preparation Is Complete?
Once all seven preparation steps are verified, the actual reglazing begins. Multiple thin coats of a catalytic refinishing compound are sprayed in smooth, overlapping passes. Each coat is allowed to flash off before the next is applied. A final sealing topcoat locks everything in. The fixture then enters a critical curing window—typically 24 to 48 hours during which no water, cleaning products, or objects should contact the surface. Full chemical cure continues for approximately seven days, during which gentle use is possible but heavy impact should be avoided.
Common Preparation Mistakes That Ruin a Reglaze
| Mistake | Consequence |
|---|---|
| Skipping the sanding or etching step | Coating peels or flakes within weeks |
| Incomplete cleaning (oil or soap residue remains) | Bubbling and poor adhesion across the surface |
| Applying filler over rust without removing it first | Rust continues spreading under the new finish |
| Coating in a cold or humid room | Uneven cure, cloudiness, or soft spots in the finish |
| Using thick coats instead of multiple thin passes | Drips, sags, and an uneven surface texture |
| Neglecting to mask drains and hardware areas | Coating enters plumbing or creates rough edges |
Key Takeaways
- Surface preparation accounts for roughly 80 percent of a successful reglazing outcome.
- Every fixture must be deep-cleaned, repaired, and sanded or etched before any coating is applied.
- Environmental conditions—temperature above 68°F, low humidity, and active ventilation—are just as important as physical prep.
- Professional HVLP spray application delivers a smoother, longer-lasting finish than brush or roller methods.
- Rushing any single preparation step is the most common cause of premature finish failure.
- A properly prepared and reglazed surface can last 10 to 15 years with appropriate care.
Frequently Asked Questions
How long does the preparation phase take?
For a standard bathtub, the full preparation process—from clearing the area to the final primer coat—typically takes two to three hours. Fixtures with heavy damage, rust, or a previous reglaze that must be stripped may take longer.
Can I prepare the surface myself before professionals arrive?
You can help by clearing all personal items from the bathroom and ensuring the room is accessible. However, the technical steps—chemical cleaning, sanding, etching, and priming—should be performed by trained technicians to ensure proper adhesion and a lasting finish.
What happens if my tub was previously reglazed?
A previously reglazed surface requires additional preparation. The old coating must be sanded and stripped before the new reglazing process can begin, which adds time and cost to the project. A professional can quickly determine whether your tub has been refinished before.
Is sanding or acid etching better for preparation?
It depends on the material. Fiberglass surfaces respond well to wet sanding. Cast iron, steel, and ceramic fixtures often benefit from acid etching, which roughens the surface at a molecular level. Many professionals use a combination of both for maximum adhesion strength.
How soon can I use my bathroom after reglazing?
Most reglazed fixtures can be used gently after 24 to 48 hours. However, full chemical curing continues for about seven days. During that first week, avoid placing heavy objects on the surface, using abrasive cleaners, or applying suction-cup accessories.
Does Excellence Reglazing handle the entire prep and coating process?
Yes. Excellence Reglazing provides a fully managed service from initial assessment through final cure inspection. Our technicians handle every step of preparation, coating, and cleanup so homeowners can simply enjoy their like-new bathroom.
Trust the Prep to Excellence Reglazing
The difference between a reglaze that lasts two years and one that lasts fifteen comes down to preparation. At Excellence Reglazing, we never cut corners on cleaning, repair, sanding, or environmental control. If you are considering reglazing a bathtub, sink, or tile surround, contact us for a free assessment—we will walk you through exactly what your fixture needs and deliver a finish that looks and feels factory-new.